First, this process works today on clusters made with the TKG tool that does not use the embedded management cluster. For clarity I call those clusters TKC or TKC Guest Clusters. The run as VM’s. You just can’t add block devices outside of the Cloud Native Storage (VMware’s CSI Driver). At least I couldn’t.
Now TKG deploys using a Photon 3.0 template. When I wrote this blog and recorded the demo the current latest version is TKG 1.2.1 and the k8s template is 1.19.3-vmware.
Check the release notes here: https://docs.portworx.com/reference/release-notes/portworx/#improvements-4
First generate base64 encoded versions of your user and password to vCenter.
# Update the following items in the Secret template below to match your environment:

VSPHERE_USER: Use output of printf <vcenter-server-user> | base64
VSPHERE_PASSWORD: Use output of printf <vcenter-server-password> | base64
The vsphere-secret.yaml save this to a file with your own user and password to vCenter (from above).
apiVersion: v1
kind: Secret
metadata:
  name: px-vsphere-secret
  namespace: kube-system
type: Opaque
data:
  VSPHERE_USER: YWRtaW5pc3RyYXRvckB2c3BoZXJlLmxvY2Fs
  VSPHERE_PASSWORD: cHgxLjMuMEZUVw==
kubectl apply the above spec after you update the above template with your user and password.
Follow these steps:
# create a new TKG cluster
tkg create cluster tkg-portworx-cluster -p dev -w 3 --vsphere-controlplane-endpoint-ip 10.21.x.x

# Get the credentials for your config
tkg get credentials tkg-portworx-cluster

# Apply the secret and the operator for Portworx
kubectl apply -f vsphere-secret.yaml
kubectl apply -f 'https://install.portworx.com/2.6?comp=pxoperator'

#generate your spec first, you get this from generating a spec at https://central.portworx.com
kubectl apply -f tkg-px.yaml

# Wait till it all comes up.
watch kubectl get pod -n kube-system

# Check pxctl status
PX_POD=$(kubectl get pods -l name=portworx -n kube-system -o jsonpath='{.items[0].metadata.name}')
kubectl exec $PX_POD -n kube-system -- /opt/pwx/bin/pxctl status
You can now create your own or use the premade storageClass
kubectl get sc
NAME                             PROVISIONER                     RECLAIMPOLICY   VOLUMEBINDINGMODE   ALLOWVOLUMEEXPANSION   AGE
default (default)                csi.vsphere.vmware.com          Delete          Immediate           false                  7h50m
px-db                            kubernetes.io/portworx-volume   Delete          Immediate           false                  7h44m
px-db-cloud-snapshot             kubernetes.io/portworx-volume   Delete          Immediate           false                  7h44m
px-db-cloud-snapshot-encrypted   kubernetes.io/portworx-volume   Delete          Immediate           false                  7h44m
px-db-encrypted                  kubernetes.io/portworx-volume   Delete          Immediate           false                  7h44m
px-db-local-snapshot             kubernetes.io/portworx-volume   Delete          Immediate           false                  7h44m
px-db-local-snapshot-encrypted   kubernetes.io/portworx-volume   Delete          Immediate           false                  7h44m
px-replicated                    kubernetes.io/portworx-volume   Delete          Immediate           false                  7h44m
px-replicated-encrypted          kubernetes.io/portworx-volume   Delete          Immediate           false                  7h44m
stork-snapshot-sc                stork-snapshot                  Delete          Immediate           false                  7h44m
Now Deploy Kube-Quake
The example.yaml is from my fork of the kube-quake repo on github where I redirected the data to be on a persistent volume.
kubectl apply -f https://raw.githubusercontent.com/2vcps/quake-kube/master/example.yaml
deployment.apps/quakejs created
service/quakejs created
configmap/quake3-server-config created
persistentvolumeclaim/quake3-content created
k get pod
NAME READY STATUS RESTARTS AGE
quakejs-668cd866d-6b5sd 0/2 ContainerCreating 0 7s
k get pvc
NAME STATUS VOLUME CAPACITY ACCESS MODES STORAGECLASS AGE
quake3-content Bound pvc-6c27c329-7562-44ce-8361-08222f9c7dc1 10Gi RWO px-db 2m
k get pod
NAME READY STATUS RESTARTS AGE
quakejs-668cd866d-6b5sd 2/2 Running 0 2m27s
k get svc
NAME TYPE CLUSTER-IP EXTERNAL-IP PORT(S) AGE
kubernetes ClusterIP 100.64.0.1 <none> 443/TCP 20h
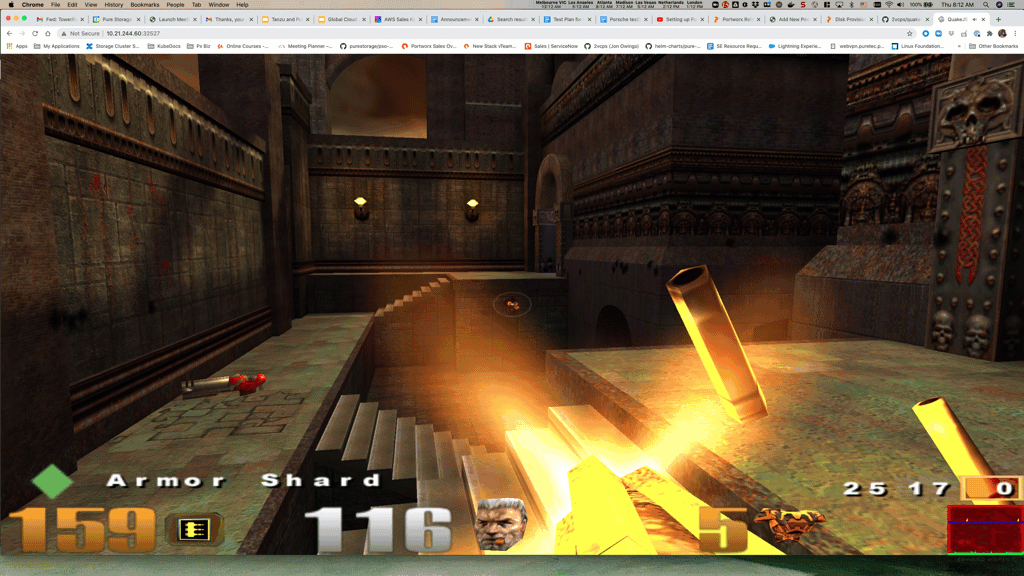
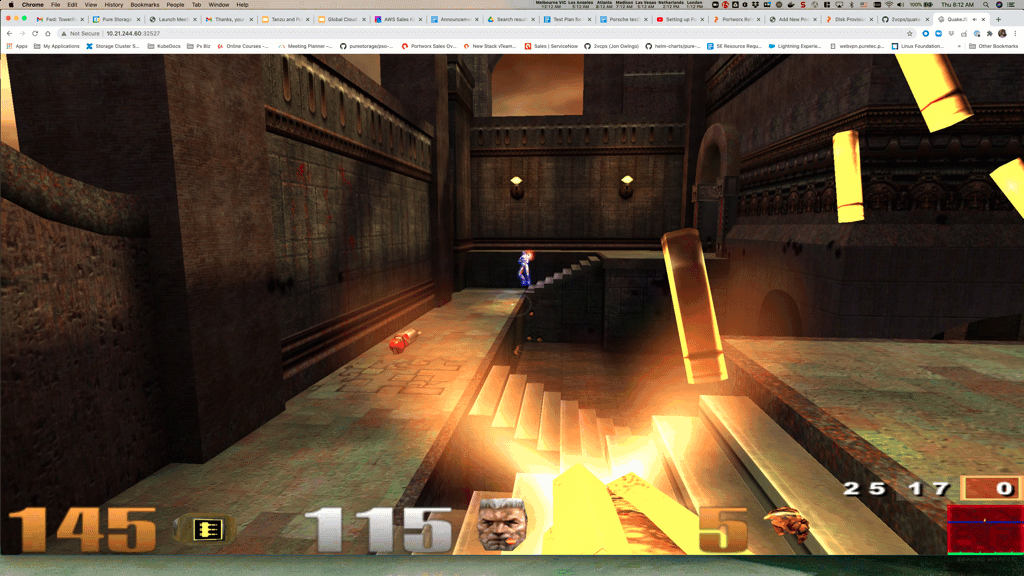
quakejs LoadBalancer 100.68.210.0 <pending> 8080:32527/TCP,27960:31138/TCP,9090:30313/TCP 2m47sNow point your browser to: http://<some node ip>:32527
Or if you have the LoadBalancer up and running go to the http://<Loadbalancer IP>:8080