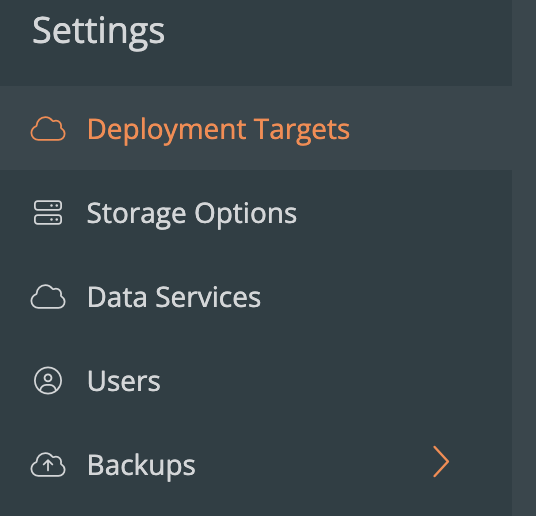
The key here is to deploy Cassandra via PDS then get the server connection names from PDS. Each step is explained in the repo. Go over there and fork or clone the repo or just use my settings. A quick summary though (it is really this easy).
Deploy Cassandra to your Target in PDS.
Edit the env-secret.yaml file to match your deployment.
Apply the secret. kubectl -n namespace apply -f env-secret.yaml
Apply the deployment. kubectl -n namespace apply -f worker.yaml
Check the database in the Cassandra pod. kubectl -n namespace exec -it cas-pod — bash
Use cqlsh to check the table the app creates.
That is it pretty easy and it creates a lot of records in the database. You could also scale it up in order to test connections from many sources. I hope this helps you quickly use PDS and if you have any updates or changes to me repo please submit a PR.
Portworx Data Services (PDS) the DBaaS platform built on the Portworx Enterprise platform is One Platform for All Databases. This SaaS platform can work with your platform in the Cloud or in your datacenter. Check out this demo of some of the Admin tasks available.
The good part other than add your DB consumers and your target Clusters to run workloads, the rest is configured for you. The power in the platform is you can change many settings but for the best practices are already put in place for you. Now you can have all databases with just one API and one UI.
You no longer need to learn an Operator or Custom resources for every different data service your Developers, Data Architects and DBA’s ask for. Also your data teams don’t learn K8s, They work with databases without having to every become platform exports. Just one API, One UI. One Platform. All Databases.
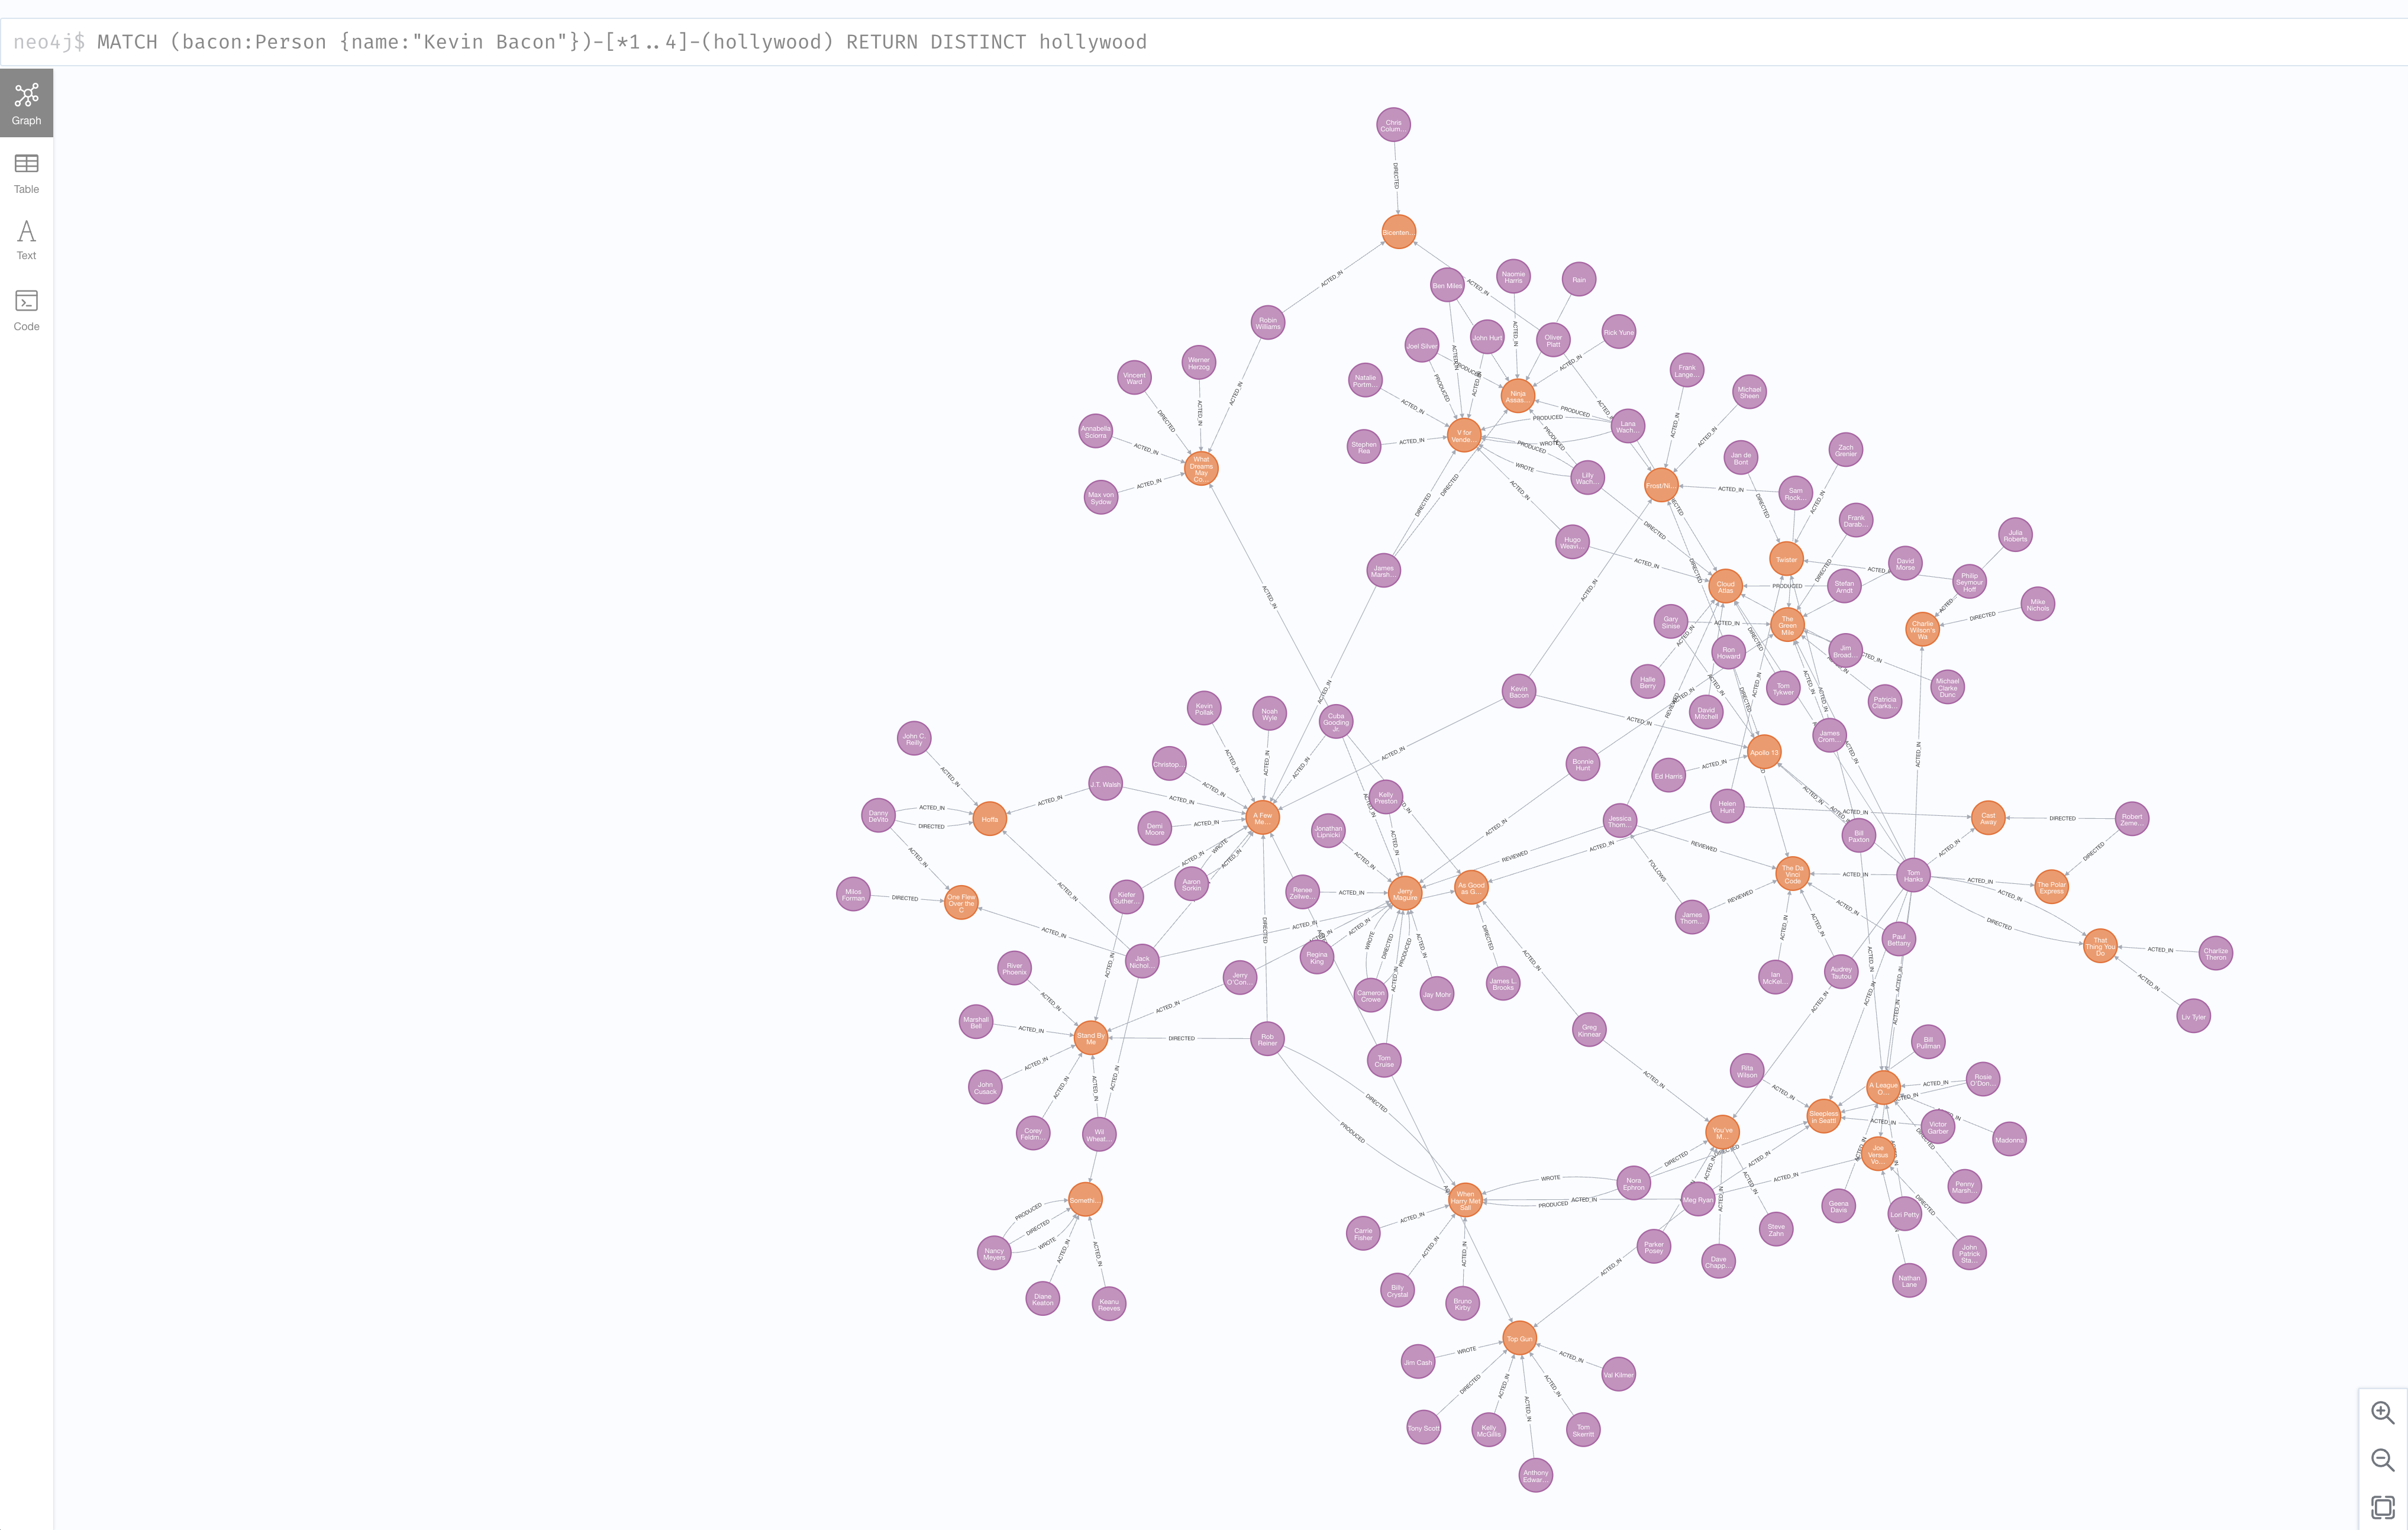
Graph DB solution Neo4j is popular with Data Scientists and Data Architects trying to make connections of the nodes and relationships. Neo4j is able to do memory management other in memory operations to allow for efficiency and performance. All of that data needs to eventual persist to a data management platform. This is why I was first asked about Neo4j.
Some cool nodes
There are Community and Enterprise Editions like most software solutions these days and the robust enterprise type functions land in the Enterprise Edition. Things like RBAC and much higher scale.
Neo4j provides a repo of Helm charts and some helpful documentation on running the Graph Database in Kubernetes. Unfortunately, the instructions stop short of many of the K8s flavors supported by the cloud and on premises solutions. Pre-provisioning cloud disks might be great for a point solution of a single app. Most of my interactions with the people running k8s in production are building Platform as a Service (PaaS) or Database as a Service (DBaaS). Nearly all at least want the option of building these solutions to be hybrid or multi cloud capable. Additionally, DR and Backup are requirements to run in any environment that values their data and staying in business.
Portworx in 20 seconds
Portworx is a data platform that allows stateful applications such as Neo4j to run on an Cloud, on Premises Hardware on any K8s Distribution. It was built from the very beginning to run as a container for containers. </end commercial>
In this blog post I want to enhance and clarify the documentation for the Neo4j helm chart so that you can easily run the community or Enterprise Editions in your K8s deployment.
As with any database Neo4j will benefit greatly from running the persistence on Flash. All of my testing was done with a Pure Storage FlashArray.
Step 1
Already have K8s and Portworx installed. I used Portworx 2.9.1.1 and Vanilla K8s 1.22. Also already have Helm installed. Note: The helm chart was giving me trouble until I updated helm to version 3.8.x
neo4j:
  resources:
    cpu: "0.5"
    memory: "2Gi"

  # Uncomment to set the initial password
  #password: "my-initial-password"

  # Uncomment to use enterprise edition
  #edition: "enterprise"
  #acceptLicenseAgreement: "yes"

volumes:
  data:
    mode: "dynamic"
    # Only used if mode is set to "dynamic"
    # Dynamic provisioning using the provided storageClass
    dynamic:
      storageClassName: "neo4j"
      accessModes:
        - ReadWriteOnce
      requests:
        storage: 100Gi
Cluster values.yaml
node[0-x]values-cluster.yaml
Why do I say 0-x? Well neo4j requires a helm release for each core cluster node (read more detail in the neo4j helm docs). Each file for now is the same. Note: neo4j is an in memory database. 2Gi ram is great for the lab, but for really analytics use I would hope to use much more memory.
neo4j:
  name: "my-cluster"
  resources:
    cpu: "0.5"
    memory: "2Gi"
  password: "my-password"
  acceptLicenseAgreement: "yes"

volumes:
  data:
    mode: "dynamic"
    # Only used if mode is set to "dynamic"
    # Dynamic provisioning using the provided storageClass
    dynamic:
      storageClassName: "neo4j"
      accessModes:
        - ReadWriteOnce
      requests:
        storage: 100Gi
Read Replica values
Create another helm yaml file here is rr1-values-cluster.yaml
neo4j:
  name: "my-cluster"
  resources:
    cpu: "0.5"
    memory: "2Gi"
  password: "my-password"
  acceptLicenseAgreement: "yes"

volumes:
  data:
    mode: "dynamic"
    # Only used if mode is set to "dynamic"
    # Dynamic provisioning using the provided storageClass
    dynamic:
      storageClassName: "neo4j"
      accessModes:
        - ReadWriteOnce
      requests:
        storage: 100Gi
You need a minimum of 3 core nodes to create a cluster. So you must run the helm install command 3 times for the neo4j-cluster-core helm chart.
Successful Cluster Creation
 kubectl -n neo4j-cluster exec neo4j-cluster-0 -- tail /logs/neo4j.log
2022-03-29 19:14:55.139+0000 INFO  Bolt enabled on [0:0:0:0:0:0:0:0%0]:7687.
2022-03-29 19:14:55.141+0000 INFO  Bolt (Routing) enabled on [0:0:0:0:0:0:0:0%0]:7688.
2022-03-29 19:15:09.324+0000 INFO  Remote interface available at http://localhost:7474/
2022-03-29 19:15:09.337+0000 INFO  id: E2E827273BD3E291C8DF4D4162323C77935396BB4FFB14A278EAA08A989EB0D2
2022-03-29 19:15:09.337+0000 INFO  name: system
2022-03-29 19:15:09.337+0000 INFO  creationDate: 2022-03-29T19:13:44.464Z
2022-03-29 19:15:09.337+0000 INFO  Started.
2022-03-29 19:15:35.595+0000 INFO  Connected to neo4j-cluster-3-internals.neo4j-cluster.svc.cluster.local/10.233.125.2:7000 [RAFT version:5.0]
2022-03-29 19:15:35.739+0000 INFO  Connected to neo4j-cluster-2-internals.neo4j-cluster.svc.cluster.local/10.233.127.2:7000 [RAFT version:5.0]
2022-03-29 19:15:35.876+0000 INFO  Connected to neo4j-cluster-3-internals.neo4j-cluster.svc.cluster.local/10.233.125.2:7000 [RAFT version:5.0]
Install Read Replica
The cluster must be up and functioning to install the read replica.
I provide the -n with a namespace and the –create-namespace tag because it allows me to install my helm release in this case neo4j-1 into its own namespace. Which helps with operations for DR, Backup and even lifecycle cleanup down the road. When installing a cluster all the helm releases must be in the same namesapce.
Start Graph Databasing!
As you can see there are plenty of tutorials to see how you may use Neo4j
Over a year a go we were working on the final parts of the acquisition of Portworx. I knew Portworx was going to change everything at Pure. I also expected it to take a while. I knew that we were going to see amazing new things built on this Cloud Native Data Platform. In the last year I have witnessed customers do just that with their own stateful workloads. Examples include banks, online gaming, SaaS providers, retail chains and many more.
What I also knew would come someday was Portworx Data Services would introduce all of us a way to have stateful workloads as a service. Database as a service, anywhere k8s can run, on any cloud. On Tanzu, AWS, Azure, Google, RedHat, Rancher and so many more. Your data managed but not locked into a proprietary platform. Managed in a way built for Cloud Native, Built for Kubernetes. It is also here way faster than I thought. A big thank you to our Engineering teams for the amazing work to make Portworx Data Services a real thing.
More than just a deployment tool
This is not just “deploy me a container” with a database. This is a managed experience with the day 2 operations built in. You can work on getting results from your data while PDS manages the performance, protection and availability of your solution wherever you want it to be. Not locked to specific cloud but anywhere that runs K8s.
But Doesn’t Operator XYZ do that?
Maybe. A little bit. Today’s developers expect to choose the tools they need to deliver their application. Not to be forced onto a single platform. This results in Database Administrators and DevOps teams supporting many different data services all with their own nuances. Some places have 10-15 different databases or data services (some of them are not really databases). Imagine having to support, the deployment and ongoing management of everyone of those, in most cases the with no extra time or resources. Normally you don’t get a new headcount every time a developer wants to use a new kind of data service.
Portworx Data Services lets you learn one API, one Interface and you get one vendor to support and manage the little things you don’t have time for, like Performance, High Availability and Disaster Recovery best practices. Making the data available in other sites or clouds for analytics or other use cases. Even Building that data into Dev-Test-QA workflows.